
Episode 8 - Programmatically Access Google Cloud’s Secret Manager
Welcome to Episode 8 of the “Head in the Clouds” Video Series. I am Ken Hartman, a SANS Certified Instructor and content creator for the SANS Cloud Security Curriculum.
Today’s episode is titled: “Programmatically Access Google Secret Manager”
The purpose of HITC is to teach foundational cloud skills and security knowledge that will help others thrive in the cloud. The content ideas come from my personal observation of skills that I see some students lacking when they show up to a SANS Cloud Security course. Other ideas are passed on from fellow SANS instructors.
Today’s topic draws from some recent private consulting work. I wrote some automation to authenticate to a SaaS application and download a backup file. The proper protection of the authentication secret is a primary concern because an attacker with the authentication secret could impersonate the backup service and download all of the data in the system!
In fact, the Cloud Security Alliance identified this as Top Threat No. 4 in their “Top Threats to Cloud Computing - The Egregious 11” publication.
“Credentials and cryptographic keys must not be embedded in source code or distributed in public facing repositories (such as GitHub) because there is a high risk of discovery and misuse. Keys need to be appropriately secured with a well-secured public key infrastructure (PKI) to ensure key management activities are carried out.”
In my case, even though the code was to be stored in a private repository, I intended to follow the best practice of keeping the secret out of the source code.
To set up the scenario for this HITC session, we need a web application to authenticate to and then we need to write some code for the client-side service to use to perform the authentication. Once that is working, we will refactor our code to pull the authentication secret from the GCP Secrets Manager.
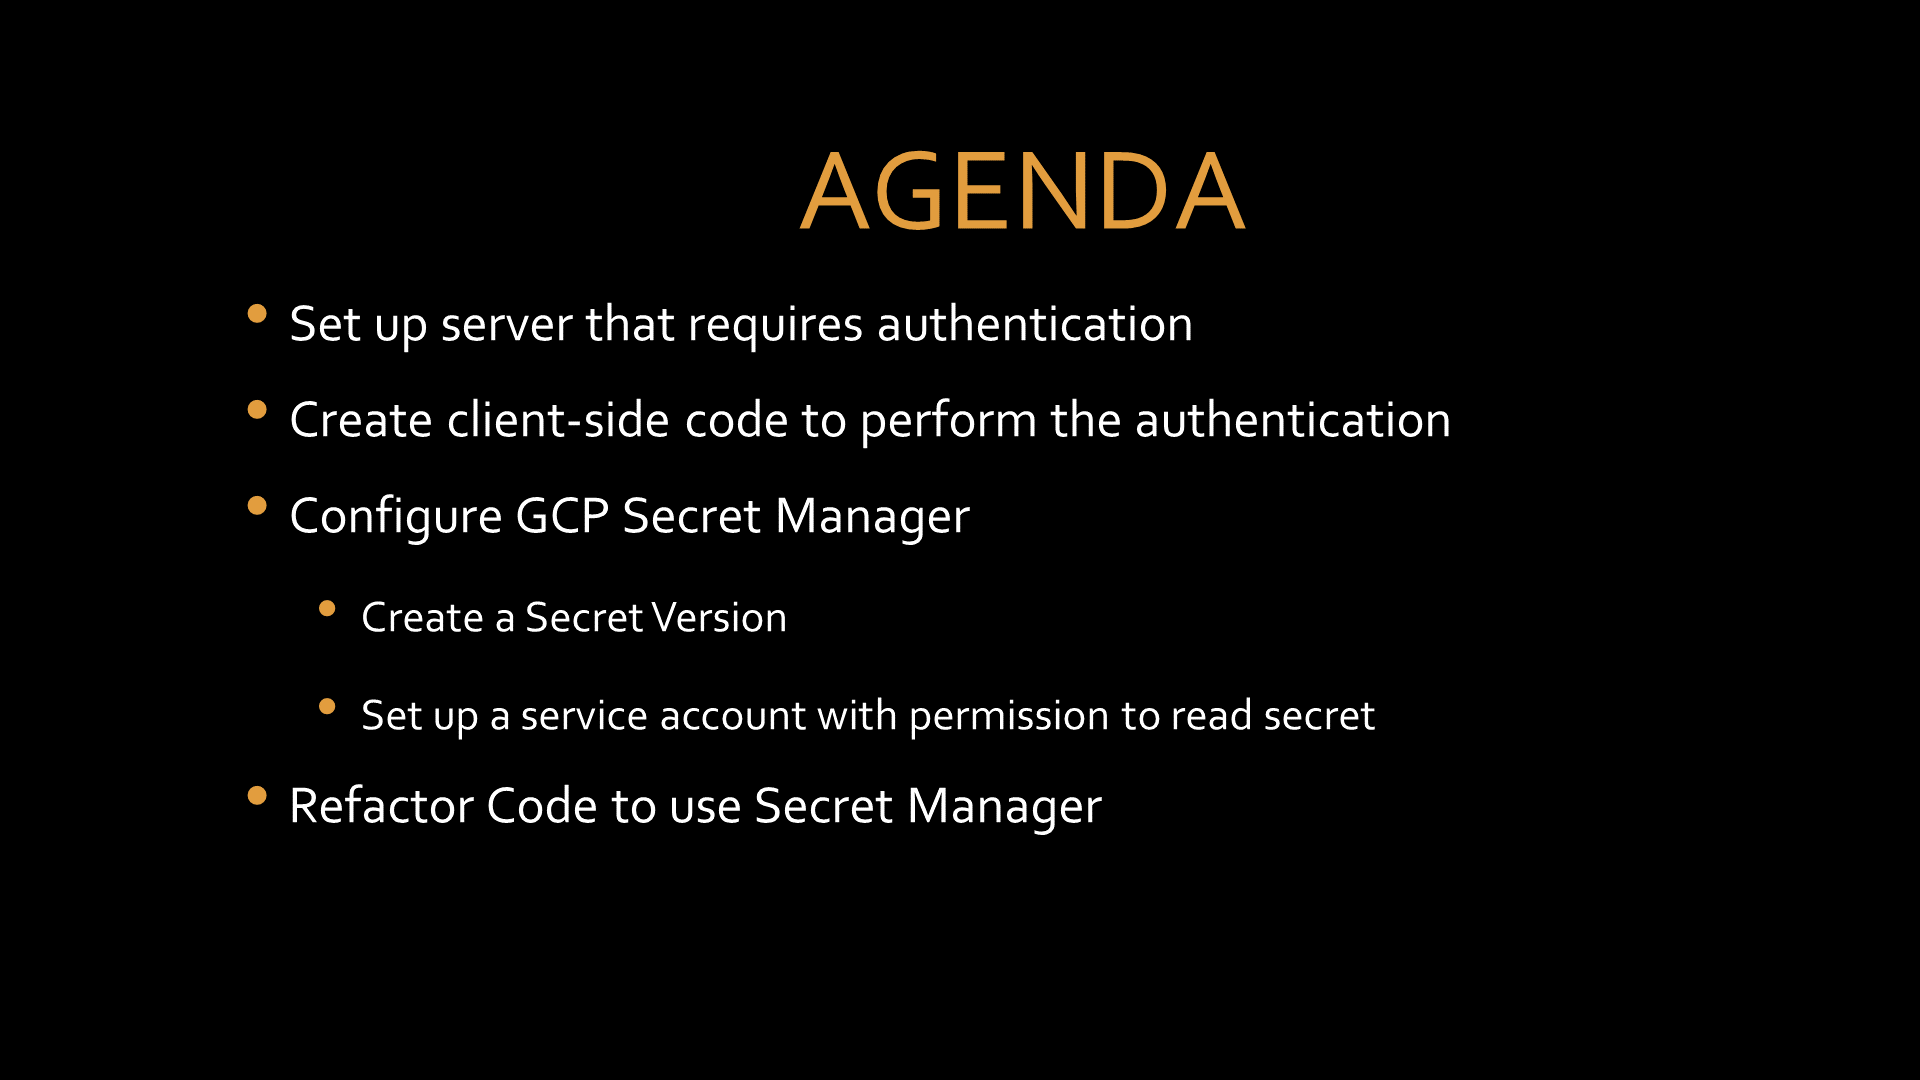
Setting up Secrets Manager involves adding a secret version and creating a service account with permissions to read just that particular secret.
Set up Server that Requires Authentication
I considered spinning up a WordPress server for this episode, but then I remembered the KISS Principle (Keep it Simple, Stupid!). Instead, we will use httpbin.org as it supports making an authenticated REST API call.
Open this page up in an “Inconigto Window” in Chrome (or the private browsing feature of your favorite browser.) We are using Incognito Mode to prevent the browser from caching the credentials.
Expand the Auth Methods, and then click the top one, “basic-auth.” This will take you to the https://httpbin.org/#/Auth/get_basic_auth__user__passwd page.
Next, click the “Try it out” button. This will open up a form for us to configure the Username and Password strings that the server will expect.
Enter “HITC” for the Username and “123456” for the password. (I know, I know, it’s a terrible password, but I couldn’t think of a worse one!)
You may have also noticed that the cleartext password is in the URL. You can ignore that as that is simply how httpbin.org keeps its configuration without requiring users to login and create profiles for testing REST API Requests. Of course, if this was a production system, that would be a big deal.
After you have entered the two required fields, hit the “Execute” button. This will cause a form to pop-up that prompts us for the credentials that we just configured. Enter them correctly into the pop-up form and hit the “Sign in” button.
Paging down on the web page, we can see that we received a HTTP Response Code of “200” which indicates a successful authentication for this server. The web page also shows the Response Body and the Response Headers as well.
Let’s repeat the test with invalid credentials. Close all Incognito pages to ensure that there are no cached credentials. Open the httpbin page again in an Incognito Window.
Now, hit the “Try it out” button once more. The previous credentials that we configured in the server should be cleared. Enter the same credentials as before, “HITC” for the Username and “123456” for the password and then click the “Execute” button again.
This time, in the pop-up form, we will enter them incorrectly. Use “HITC” for the Username and “qwerty” for the password and then click the “Sign in” button once more. The form will let you try again, but just click the “Cancel” button.
Note that when we scroll down the page, we can see that the HTTP Response Code is “401” and that there is not a response body.
NOTE: Different API Endpoints will behave differently. Some may return a HTTP Response Code of “200” and will indicate an authentication failure in the Response Body. It all depends on the developer. To determine how your specific web service handles authentication success and failure responses, you can use an intercepting proxy such as ZAP or Burp Suite. To learn how to do this, check out HITC Episode 7 - Passively Evaluate a SaaS Provider’s AppSec using ZAP.
Create client-side code to perform the authentication
Great, now that we have a server to authenticate to, we need client-side code that will successfully authenticate it. For this proof-of-concept, we will be using Python because it is a very popular language among security professionals.
Python uses libraries that can be imported as needed, and these are called “modules.” The Requests module does most of the heavy lifting when it comes to formatting HTTP/1.1 requests.
Fortunately for us, there is another online tool that can help us figure out the format of the GET request for the API Endpoint that we just configured in the previous section. In another browser window, check out https://reqbin.com/req/cspiws0d/get-request-with-basic-server-authentication.
In the field for the URL, there is a default value that points to “https://reqbin.com/echo/get/json” but we want to replace that with the one from the server that we just configured (“https://httpbin.org/basic-auth/HITC/123456”).
Now, lets try it out. Select the “Basic Auth” radio button and then enter “HITC” for the Username and “123456” for the password. Click the “Send” button.
Notice that we see four lines of Content that indicate that our authentication was successful and a HTTP Response Code of “200 (OK).” Click the “Raw” tab to see the Response Headers along with the Response Body. Click the “Content” tab again.
Very cool. Let’s repeat the test with invalid credentials. Enter “HITC” for the Username and “qwerty” for the password. Click the “Send” button.
Now we can see that there is no Response Body displayed in the “Content” tab and that the HTTP Response Code is “401 (UNAUTHORIZED).” We also know that from the work that we did in the previous section that this is expected behavior. Change the password back to “123456” and send the GET request once more. Make sure that you see the 200 Response Code.
Now, for the cool part!
Select “Python” from the “Generate Code” dropdown.
Check it out. This tool even generated the basic code for us!! Let’s try it out. Using a Linux system with python3 installed, open a text editor with a new file called “authMe.py” and paste in the code generated by the previous step.
vim authMe.py
Save the file and run it using the following command:
python3 authMe.py
We should get a value of “200” returned by the program. Let’s make one little tweak to the code. Lets have it print the Response Body too.
echo "print(resp.content)" >> authMe.py
And rerun it:
python3 authMe.py
We should see something like:
200
b'{\n  "authenticated": true, \n  "user": "HITC"\n}\n'
Look familiar? Recall that \n is the linefeed escape character.
Take another look at the python code. Notice the string SElUQzoxMjM0NTY=
What is that? HINT: it is NOT encrypted?
It is a Base64 encoded value. Let’s decode it.
echo "SElUQzoxMjM0NTY=" | base64 -d
Ah ha! Our credentials are HITC:123456.
What happens if we change the credentials that we have our python program use?
echo "HITC:qwerty" | base64
That returns a base64 encoded value of SElUQzpxd2VydHkK
Let’s use that in a copy of our program called “authMeNot.py”
cp authMe.py authMeNot.py
sed -i 's/SElUQzoxMjM0NTY=/SElUQzpxd2VydHkK/' authMeNot.py
cat authMeNot.py
When we run it,
python3 authMeNot.py
We can see what an authentication failure looks like:
401
b''
Configure GCP Secret Manager
Now that we have a simple, functional code snippet, let’s get GCP Secret Manager all set up and integrated with the code we wrote.
Log in to the GCP console and create a new project called “HITC.”
In the search bar, enter “secret manager” and click on the Secret Manager link at the top of the results. Make sure that the “HITC” project has been selected.
Enable the API and click the “CREATE SECRET” button.
Now we need to decide on a name. How about httpbin_auth?
Now we need to enter in the value for the secret. Here we have a choice. We can provide just the clear text password of “123456” and have the python program concatenate it to our Username and then base64 encode the concatenated result, or we can enter in the complete base64 encoded string. The later follows the KISS Principle and has the added advantage of keeping the Username out of the code.
In a production system, most folks would store the clear text password and have the script concactenate it and encode it to make the rotation of the credentials easier on the administrator.
Enter “SElUQzoxMjM0NTY=” as the secret value and then click the “CREATE SECRET” button
Our next step is to create a service account with the permission to read the secret. Enter “service accounts” in the search bar and click the topmost link in the results. Confirm that we are still working on the “HITC” project.
Click the “CREATE SERVICE ACCOUNT” button Enter the name of the service account as “hitc-service” and enter in “Proof of Concept for Episode 8” as the description.
Click the “CREATE AND CONTINUE” button and then click “Done.”
Click on the name of the service account to open the details page. Now click the “KEYS” tab.
Click the “ADD KEY” dropdown and choose “Create new key.” Select the JSON radio button and then click “CREATE.” Download the key to the system that has the python programs that we were playing with earlier. Make a note of the name and full path of this JSON file. For example:
/home/ken/workspace/hitc-319517-4d18c7f446cb.json
While we are here, let’s copy the email address of the service account that we just created.
Now, navigate back to Secret Manager. Next, we have to grant that service account access to the secret that we just created.
Click on the “httpbin_auth” secret to open the details.
Click on the PERMISSIONS tab and then the ADD button.
In the “New Members” field, paste the “hitc-service…” email address. This email address will be displayed, click on it to select it.
While you are here, lets make a note of the Resource ID of the secret. It will be of the form…
projects/859548834922/secrets/httpbin_auth
…except your digits will be different than mine.
Create a Virtual Machine
Now let’s create a virtual machine. Type “VM” in the search bar and choose the “VM Instances” result. Enable the Service and click the “Create Instance” button.
We will accept most of the defaults except, scroll down to the “Service account” dropdown list. Select “hitc-service” and then click the blue “Create” button to launch the instance.
Once the instance is running, let’s connect to it using “SSH from the browser”
Now we need to apply updates and any dependencies. Run the following commands at the SSH terminal:
sudo apt update -y && sudo apt upgrade -y
sudo apt install -y python3-pip
python3 -m pip install --upgrade pip
python3 -m pip install google-cloud-secret-manager
Notice that the last command installs the python module for interacting with Secret manager.
Now, let’s copy over our authMe.py script. The easiest way to do this is to copy and paste the contents. So that is what I will do.
Just as a sanity check, let’s run the authMe.py on the new VM.
python3 authMe.py
Works great. Now to make our modifications. First, lets fork our code to a different file name:
cp authMe.py authMeSM.py
Next we need to import our module to interact with Secrets manager and a function to fetch the secret. Insert the following lines at line 3:
from google.cloud import secretmanager

def fetchSecret():
    client = secretmanager.SecretManagerServiceClient()
    name = "{SECRET RESOURCE ID}/versions/latest"
    response = client.access_secret_version(name=name)
    payload = response.payload.data.decode("UTF-8")
    return payload
Then we need to substitute in our SECRET RESOURCE ID that we made a note of earlier.
Next, we need to modify the line that contains headers["Authorization"] = "Basic SElUQzoxMjM0NTY=" to read headers["Authorization"] = "Basic " + fetchSecret()
Note that there is a single space before the double quote after the word Basic.
After saving our changes, we can run the script to see if it works:
$ python3 authMeSM.py
200
b'{\n  "authenticated": true, \n  "user": "HITC"\n}\n'
It does!! Whoohoo
Ok, but can we get this script to run on a system that is not hosted in Google Compute Engine?
Yes, and that is where that JSON Key file that we downloaded.
First, lets copy the authMeSM.py program back to our other Linux system, using my copy/paste trick.
But what happens when we run it?
It throws an error because there are no credentials that can fetch the secret from Google Secret Manager.
Don’t despair 😊 let’s read the last bit of the error message:
google.auth.exceptions.DefaultCredentialsError: Could not automatically determine credentials. Please set GOOGLE_APPLICATION_CREDENTIALS or explicitly create credentials and re-run the application. For more information, please see https://cloud.google.com/docs/authentication/getting-started
When we go to the referenced URL (https://cloud.google.com/docs/authentication/getting-started), we read that we can sent an environment variable that points to the JSON Key file that we downloaded earlier. (Did you make note of it?)
So for me, that would be /home/ken/workspace/hitc-319517-4d18c7f446cb.json so I would run:
export GOOGLE_APPLICATION_CREDENTIALS="/home/ken/workspace/hitc-319517-4d18c7f446cb.json"
And now when we run python3 authMeSM.py it will successfully authenticate.
Wrap Up
Wonderful. Now, you know how to abstract secrets from the code that will use them to integrate with other systems. Yes, you could have set the secret as an environment variable, but then you would not have any real control over how and when that secret is accessed, like you can with a solid secret management solution, like Google’s Secret manager. And by the way, in this short episode, we have just scratched the surface of GCP Secret Manager.
If you have thoughts or comments on today’s episode, feel free to chime in on the comments for this YouTube video.
If you appreciate this video and want to see more like it, be sure to give it a “thumbs up.”
Stay tuned for another installment of “Head in the Clouds” as announcements of new episodes are made on the SANS Cloud Security Twitter feed.
Meanwhile, be sure to check out the other great videos on the SANS Cloud Security YouTube Channel.
Take care.