
Episode 1 - Using jq to Get the Results You Need From Any Command Line Interface
Welcome to the Very First Edition of “Head in the Clouds.” Hello, I am Ken Hartman, a Certified SANS Instructor and content creator. For today’s episode, we will be talking about jq. What it is, and how to make it dance. JSON, or Javascript Object Notation is everywhere, and it is often the default output format of many command line interfaces—including the command line interfaces for AWS, Azure, and Google Cloud Platform.
In the SANS Cloud Security Curriculum, we frequently use jq in our labs to manipulate the output of various commands and expect that the student will dive in deep enough to understand what the command does.
However, unless one takes the time to learn jq systematically, they will not be able to tap into the power of this amazing utility…So for this episode, let’s explore some of the power of jq, using cloudy and cloud security use cases….Here we go.
First off, what is jq? Let’s run the man command
$ man jq
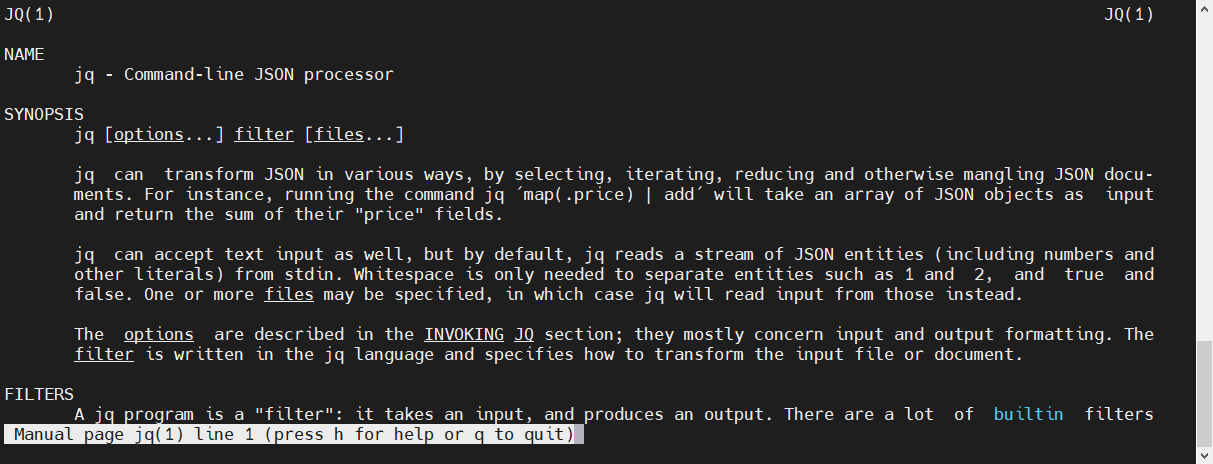
The man page is a helpful resource, but don’t for get to RTFM. The manual is available at https://stedolan.github.io/jq/manual/
You can also find the instructions to download and install jq from this same website.
First let’s see what version of jq has been installed
$ jq –-version

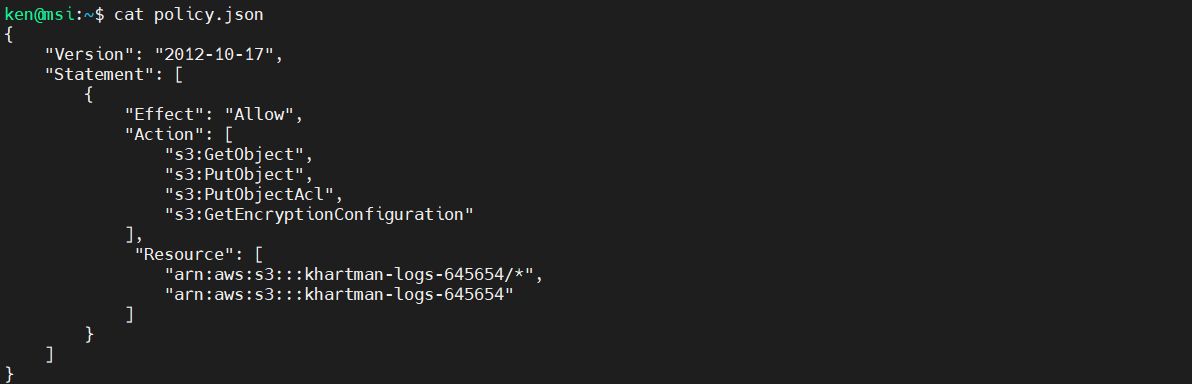
Ok, lets use the appropriate manual and look at some jq magic. For our next several examples, we will use a very basic AWS IAM policy file. This can be downloaded here. First, lets take a look at it:
$ cat policy.json
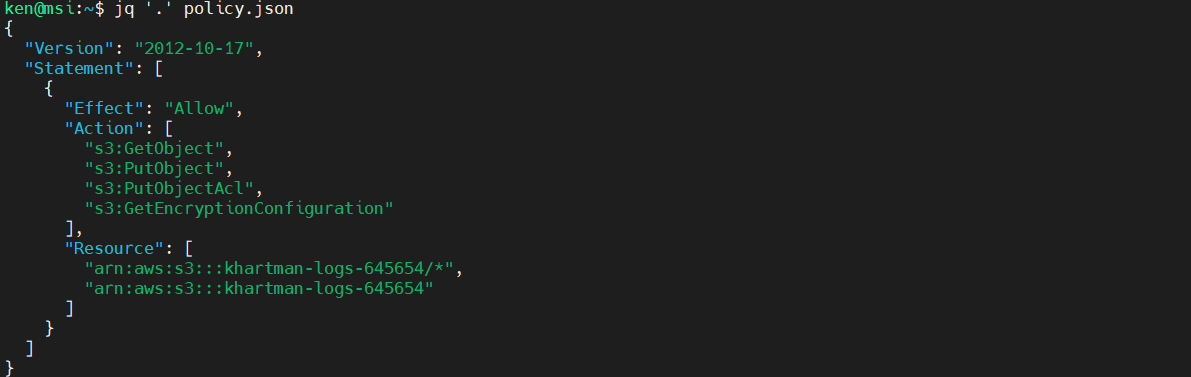
jq is designed to take json as input and transform it and write it back out to standard out. Example:
$ jq '.' policy.json
But frequently you will see it piped in from another command:
$ cat policy.json | jq '.'
or
$ echo '"cloud"'  | jq '.'
"cloud"
Filters
jq uses one or more filters to transform the input and collectively the filters are referred to as a program in the jq manual.
So far, we have only used one filter, that is the period. The period simply takes the input and sends that to standard out. By default, though, the jq will pretty print the output and colorize it, so that it is more readable.
Taking a look at our policy.json file, we can see that there is two top level keys “Version” and “Statement”, lets extract the version:
$ cat policy.json | jq '.Version'
"2012-10-17"
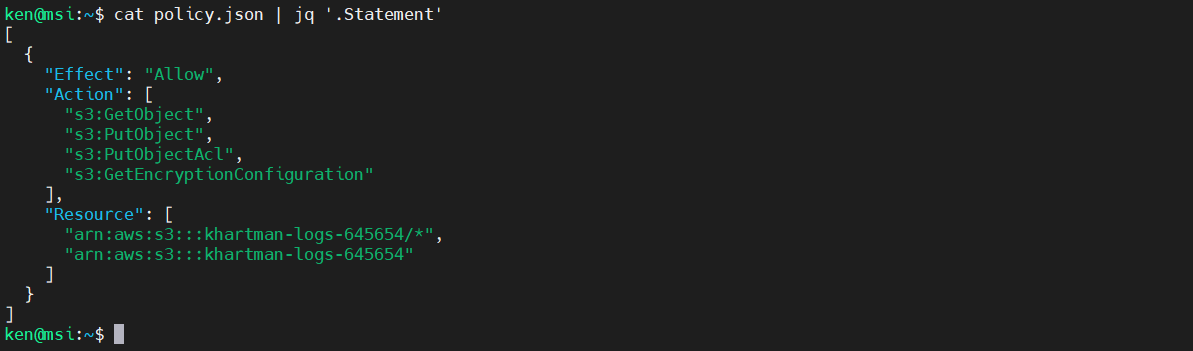
Now let’s extract the Statement:
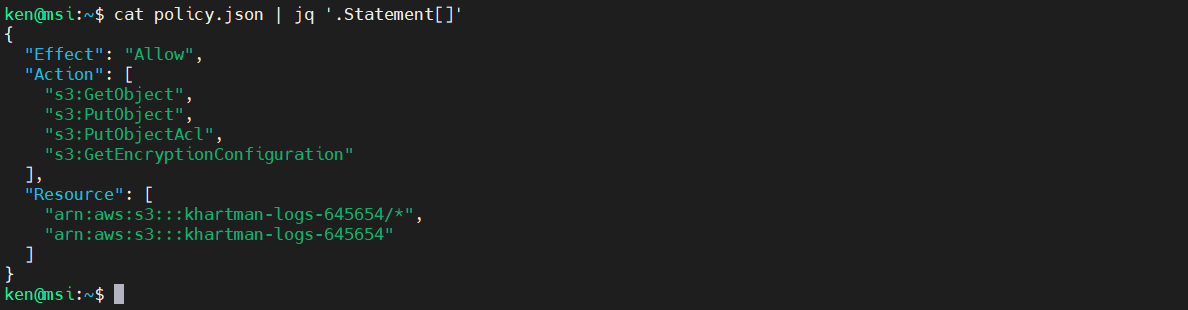
$ cat policy.json | jq '.Statement'
The statement has some child objects. The next level down is an array as indicated by the square brackets. We can also see that it is an array that consists of a single object (that contains other elements). To get the contents of the array, run:
$ cat policy.json | jq '.Statement[]'
If we want to access the Action element, we can by adding that onto our jq filter, as follows:
$ cat policy.json | jq '.Statement[].Effect'

Note that functionally, that is the same as
$ cat policy.json | jq '.Statement[] | .Effect'

The pipe operator (“|”) combines two filters by feeding the output(s) of the one on the left into the input of the filter on the right. This is just like the Unix shell’s pipe, if you’re familiar with that.
If we want to access the Action element, we can by adding that onto our jq filter, as follows:
cat policy.json | jq '.Statement[].Action'

This program returned an array consisting of four items. To get the items from the array, add in the square brackets again:
cat policy.json | jq '.Statement[].Action[]'

Similarly to extract the:
- First element of a List –>
'.[0]' - Third Element of a list –>
'.[2]' - Last Element of a list –>
'.[-1]' - Next to last element –>
'.[-2]' - Elements 2 through 3 –>
'.[1:3]' - All but first element –>
.[1:]
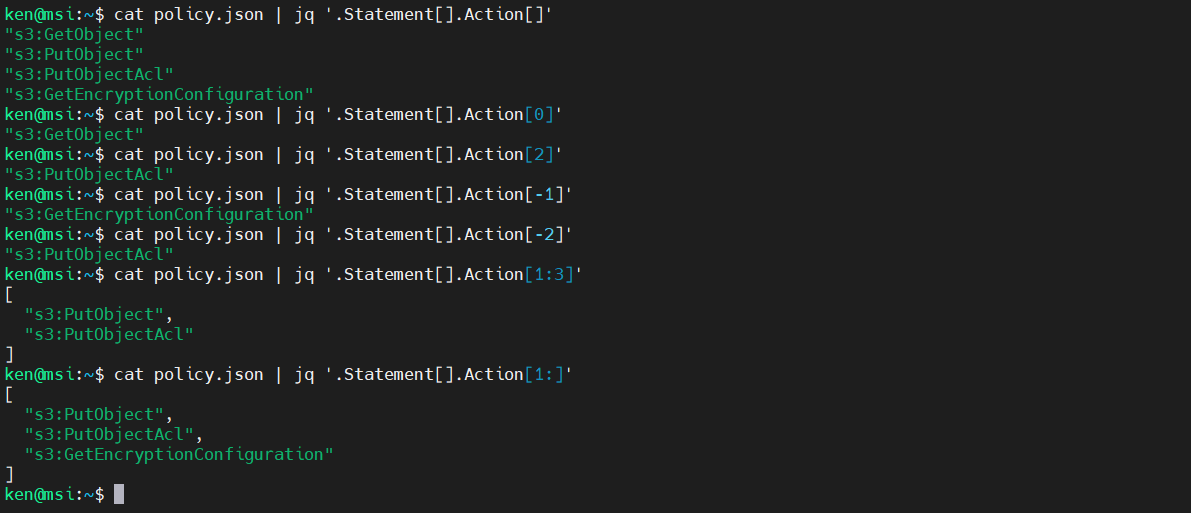
Note that the last example put the result back into an array. To extract it, we just add in another set of square brackets.
Commas
Now that we have talked about square brackets, let’s discuss commas.
If two filters are separated by a comma, then the same input will be fed into both and the two filters’ output value streams will be concatenated in order:
cat policy.json | jq '.Version, .Statement[].Effect'

Math
jq can also do math:
$ cat policy.json | jq '42'
42
$ cat policy.json | jq '42 + 3'
45
$ cat policy.json | jq '(3 + 2) * 5'
25
$ cat policy.json | jq '3 + (2 * 5)'
13
Here it is just disregarding the input and returning the mathematical result. But jq can also operate on numerical input:
$ echo [1, 2, 3] | jq '.[] * 2'
2
4
6
Or to return the result as an array, put the filter in square brackets:
$ echo [1, 2, 3] | jq '[.[] * 2]'
[
  2,
  4,
  6
]
Cool Tricks with jq
By the way, you can return the result in the compact format with the “-c” switch:
$ echo [1, 2, 3] | jq -c '[.[] * 2]'
[2,4,6]
Note, that lower case “c” means “compact format”
For the next set of examples, we will use a more complex JSON file. This file was created by running the following AWS CLI command:
aws ec2 describe-instances > describe-instances.json
This file is also available here and contains the details of four different EC2 instances. Now, to view the file, you could use the Linux ‘less’ command.
less is great because you can scroll up and down to look at the entirety of the long file, but it is not colorized the same way it would be if we used jq. However, if we use jq, we get the nifty colorized output but cannot scroll up and down. Wouldn’t it be nifty if we could have the best of both worlds?
Well, you can with the right command line switches:
cat describe-instances.json | jq -C '.' | less -r
The capital “C” tells jq to force the output to be colorized, even when piping to another command and the “-r“ switch tells less to repaint the screen using the colorized input. Both options need to be used together, but now we have scrollable, colorized output.
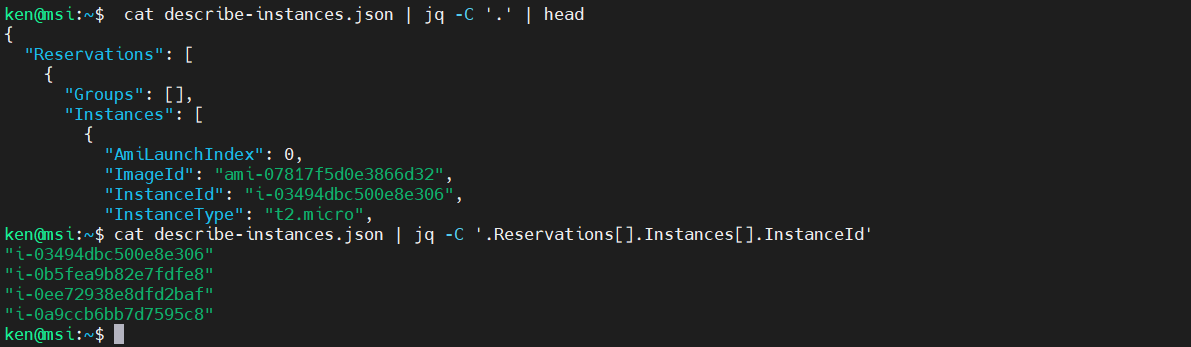
Using this last command, take a look at the top of the JSON file for the “instance-id” key. It is deep within the JSON data structure. Can you come up with the filter to extract the instance ids?
$ cat describe-instances.json | jq -C '.' | head
$ cat describe-instances.json | jq -C '.Reservations[].Instances[].InstanceId'
There is a shortcut, if you are like me and are lazy, you can get a quick and dirty list using recursive descent:
cat describe-instances.json | jq '..|.InstanceId?'
Note that the “?” is needed to suppress errors as jq descends the data structure, instead it outputs a null. And because it is a large data structure, we end up will several nulls in the result set.
We could pipe this into the Linux “sort” and “uniq” commands as follows:
cat describe-instances.json | jq '..|.InstanceId?' | sort | uniq
But let’s do this using jq:
cat describe-instances.json | jq '..|.InstanceId? | sort'

Oops, we need to make it an array:
cat describe-instances.json | jq '[..|.InstanceId?] | sort'
That’s better, but we still have a bunch of nulls. Next let’s add in the unique filter:
cat describe-instances.json | jq '[..|.InstanceId?] | sort | unique'

Somewhat better, but we still have a single null in our result. Let’s remove it:
cat describe-instances.json | jq '[..|.InstanceId?] | sort | unique[1:]'

And if we want to remove the data from the array:
cat describe-instances.json | jq '[..|.InstanceId?] | sort | unique[1:][]'

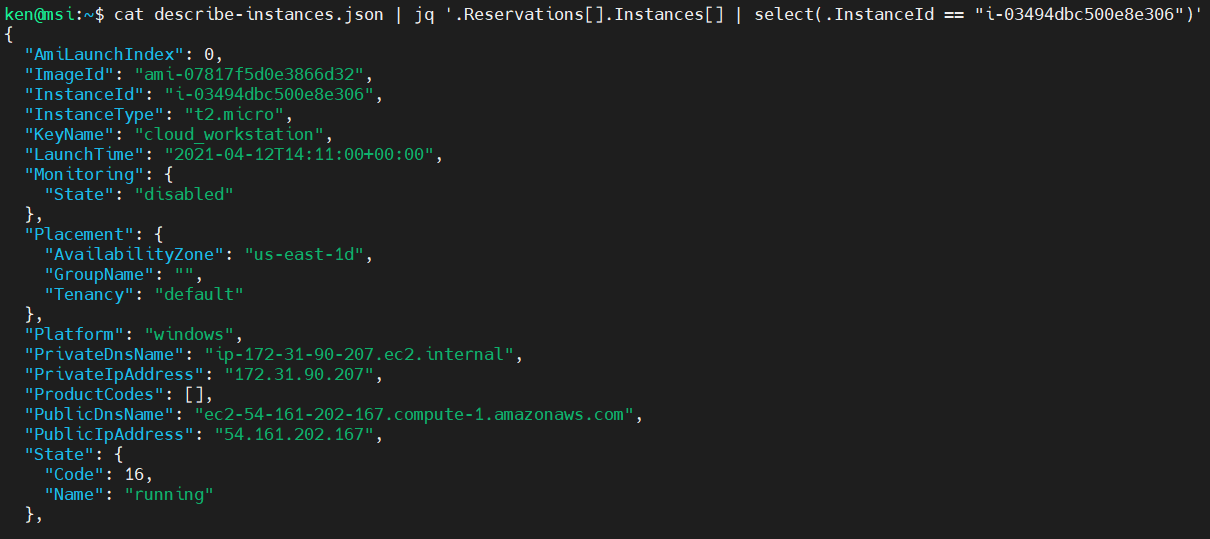
Selection Based on the Value of a Key
Based on the last exercise, we can see that we have four EC2 Instances. We can use a “select” filter to return the object that has a specific value for any key. Let’s use this technique to select based on a specific InstanceId:
cat describe-instances.json | jq '.Reservations[].Instances[] | select(.InstanceId == "i-03494dbc500e8e306")'
Constructing Objects
In much the same way that we can use square brackets to construct an array, we can construct objects Using Curly Brackets. Recall our comma operator?
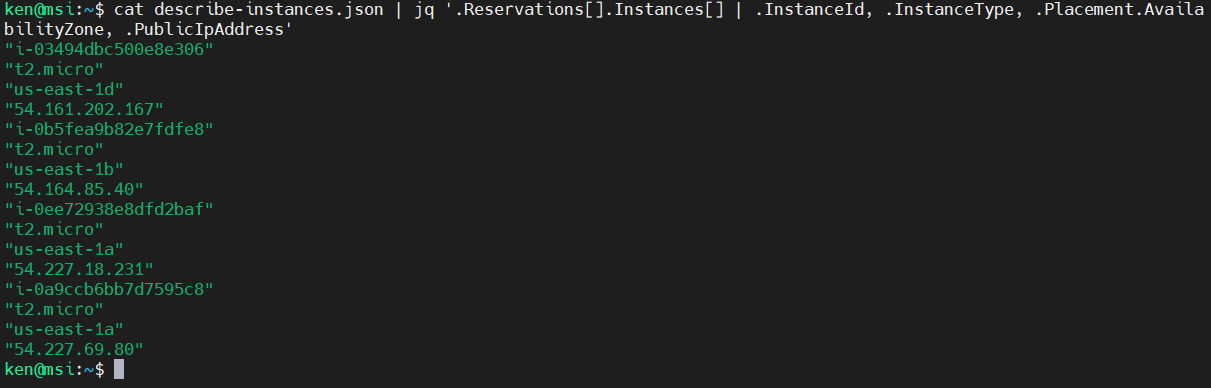
cat describe-instances.json | jq '.Reservations[].Instances[] | .InstanceId, .InstanceType, .Placement.AvailabilityZone, .PublicIpAddress'
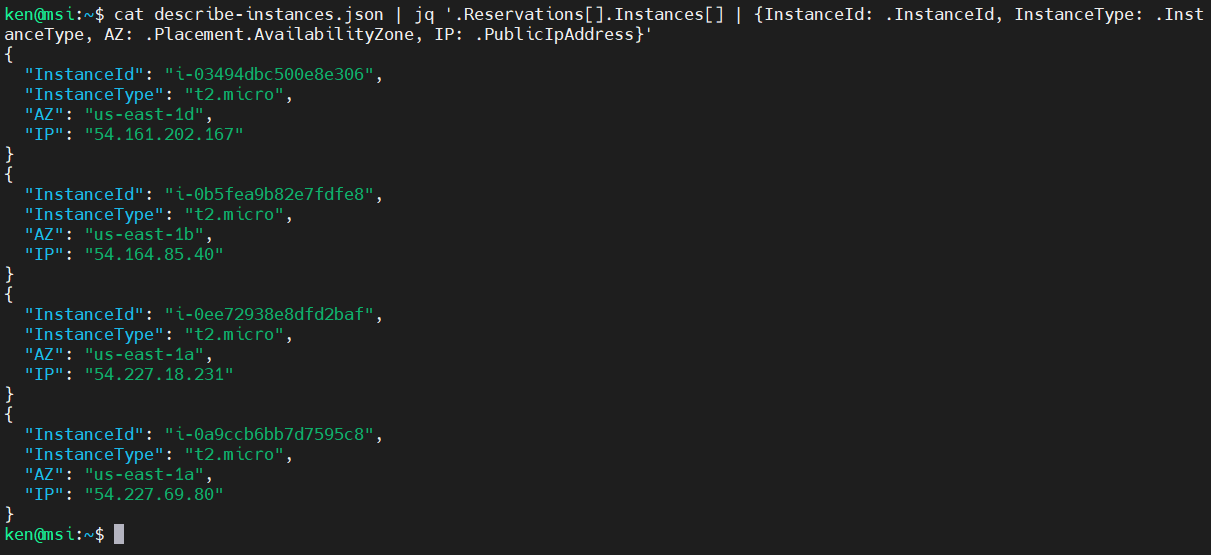
We can make these into an object using curly brackets and setting a key for each value:
cat describe-instances.json | jq '.Reservations[].Instances[] | {InstanceId: .InstanceId, InstanceType: .InstanceType, AZ: .Placement.AvailabilityZone, IP: .PublicIpAddress}'
There is a shorthand that can be used if you do not need to rename the key. In that case, just provide the name of the key before the comma. In the next example, the keys “InstanceId” and “InstanceType are preserved from the input whereas the other two are renamed:
cat describe-instances.json | jq '.Reservations[].Instances[] | {InstanceId, InstanceType, AZ: .Placement.AvailabilityZone, IP: .PublicIpAddress}'
Now, lets put all four of those objects into an array:
cat describe-instances.json | jq '.Reservations[].Instances[] | [{InstanceId, InstanceType, AZ: .Placement.AvailabilityZone, IP: .PublicIpAddress}]'
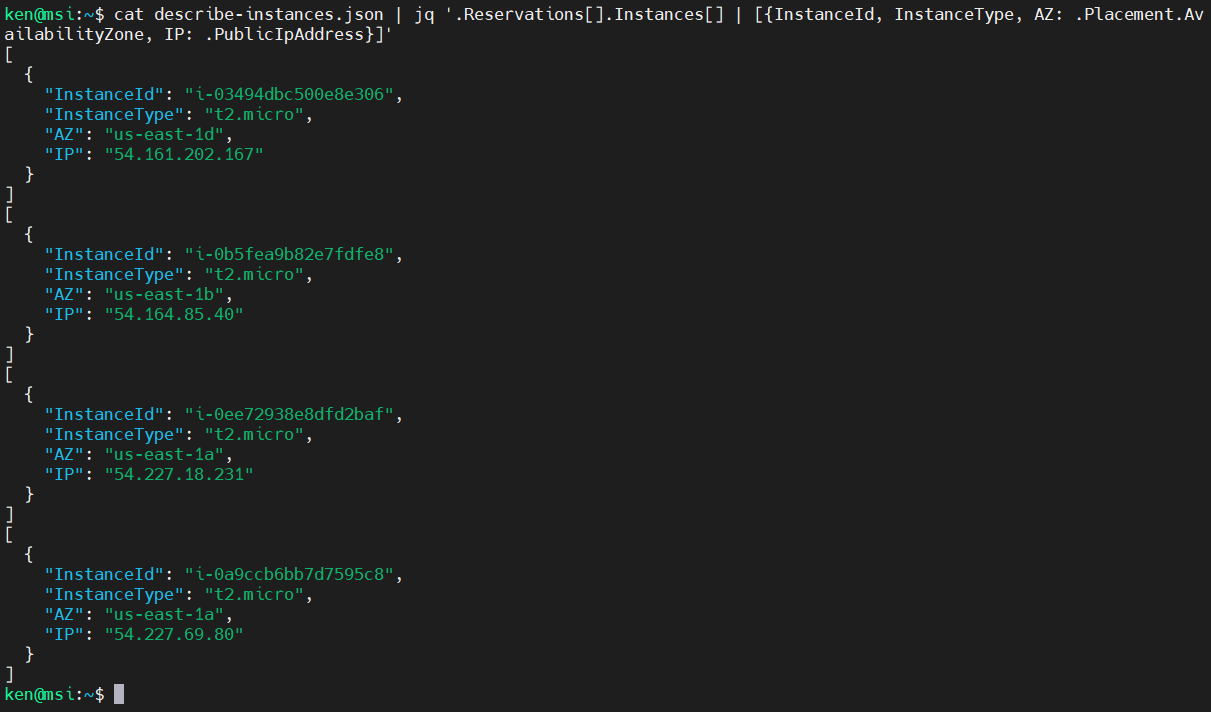
Eww, that did not give the expected result, did it? Our open Square bracket is in the wrong place.
cat describe-instances.json | jq '[.Reservations[].Instances[] | {InstanceId, InstanceType, AZ: .Placement.AvailabilityZone, IP: .PublicIpAddress}]'
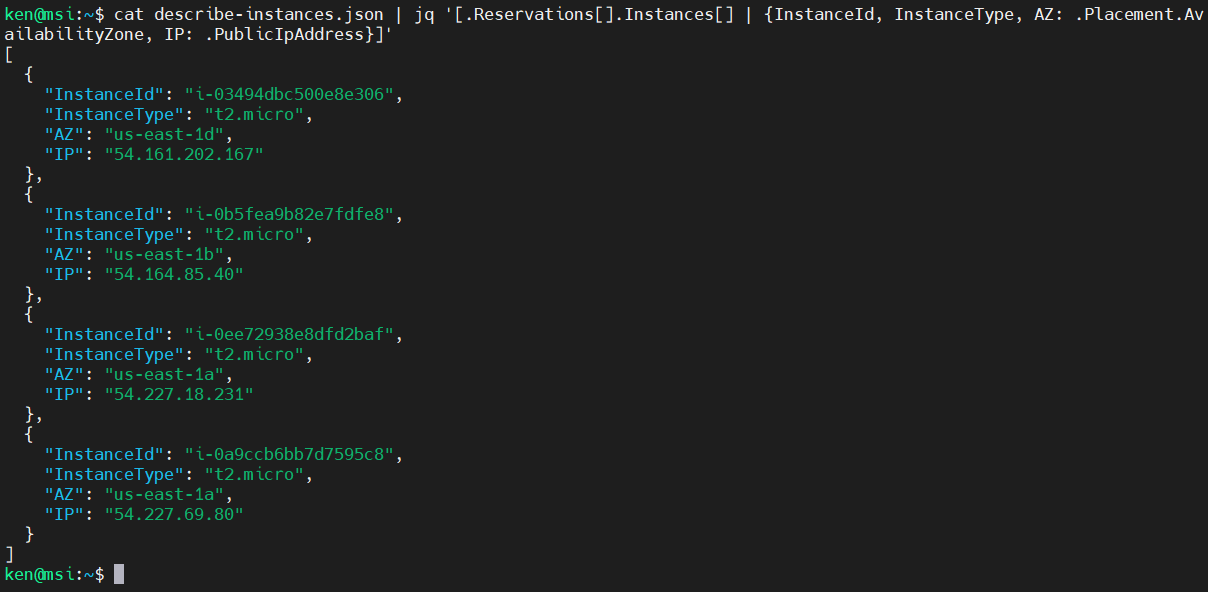
Much better. Now let’s make the array part of an object with a key called “MySystems.”
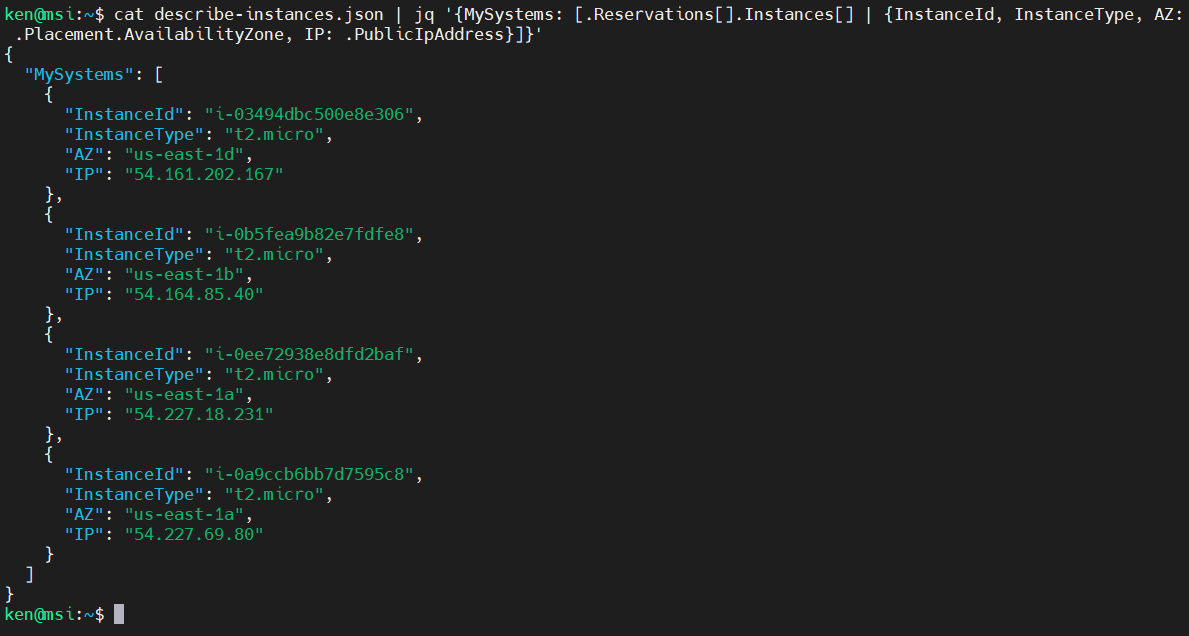
cat describe-instances.json | jq '{MySystems: [.Reservations[].Instances[] | {InstanceId, InstanceType, AZ: .Placement.AvailabilityZone, IP: .PublicIpAddress}]}'
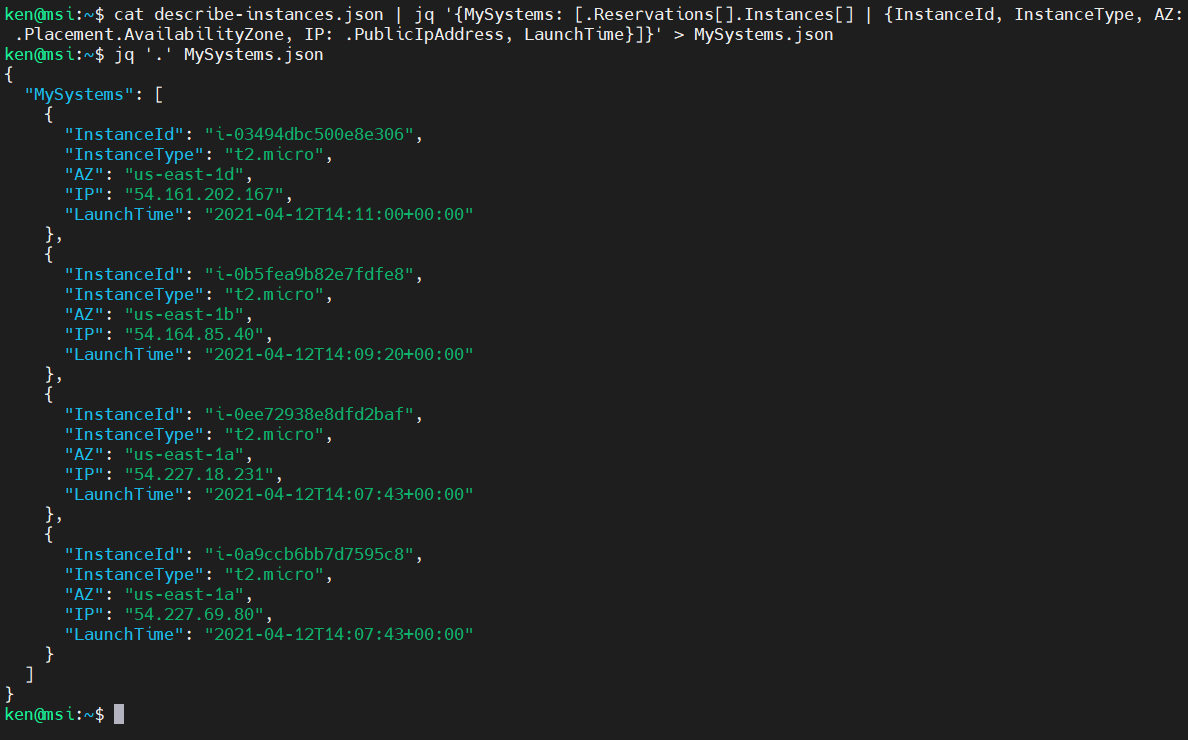
Very nice. Let’s add in LaunchTime and save that to a file:
cat describe-instances.json | jq '{MySystems: [.Reservations[].Instances[] | {InstanceId, InstanceType, AZ: .Placement.AvailabilityZone, IP: .PublicIpAddress, LaunchTime}]}' > MySystems.json
Take a look:
jq '.' MySystems.json
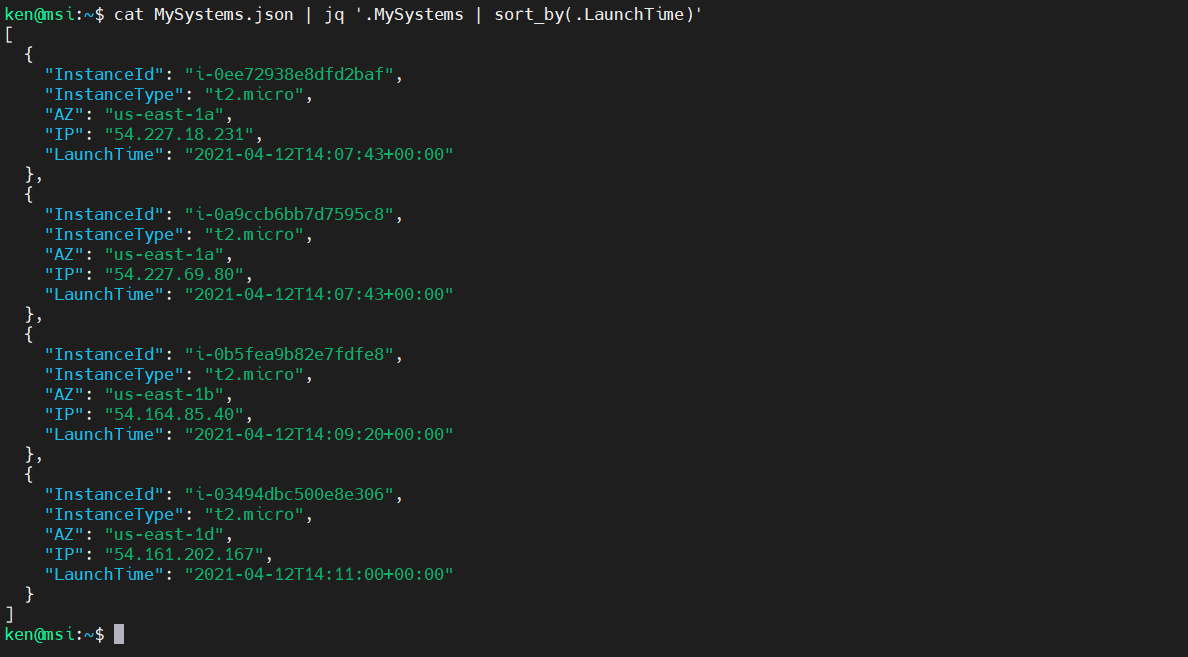
Cool, now let’s sort this by LaunchTime:
cat MySystems.json | jq '.MySystems | sort_by(.LaunchTime)'
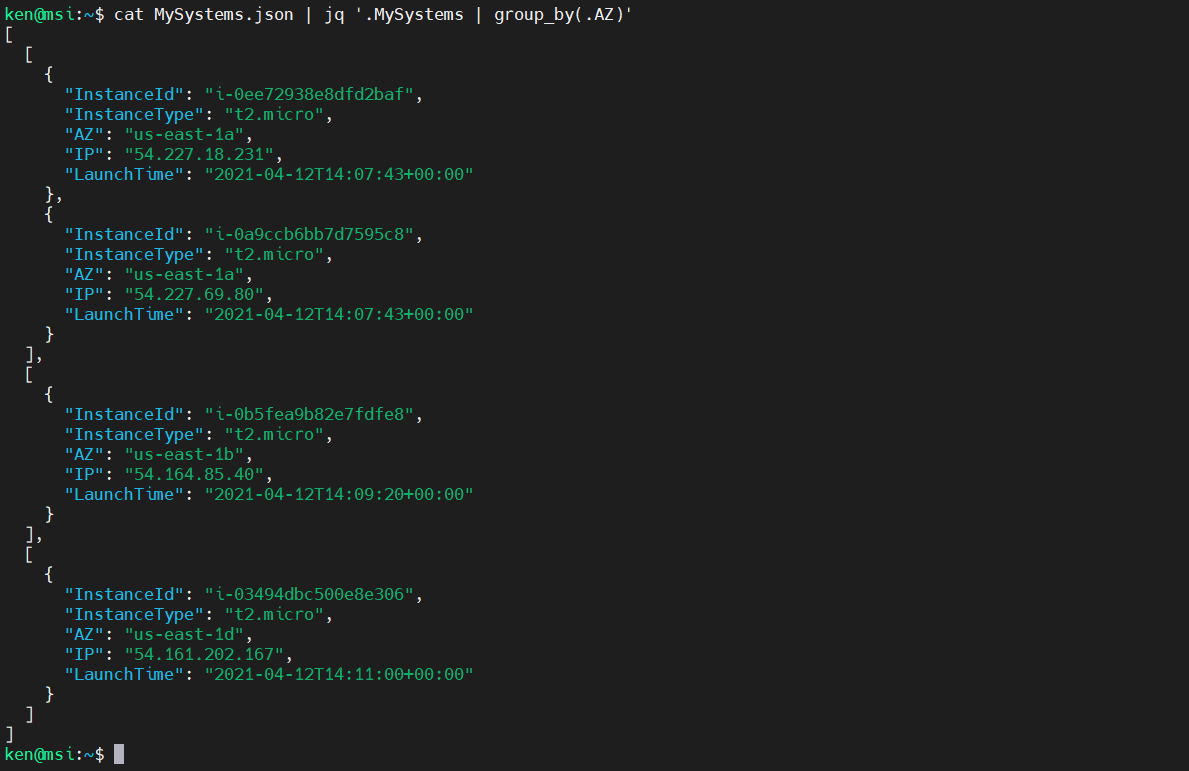
Alternatively, we can group our data by Availability Zone:
cat MySystems.json | jq '.MySystems | group_by(.AZ)'
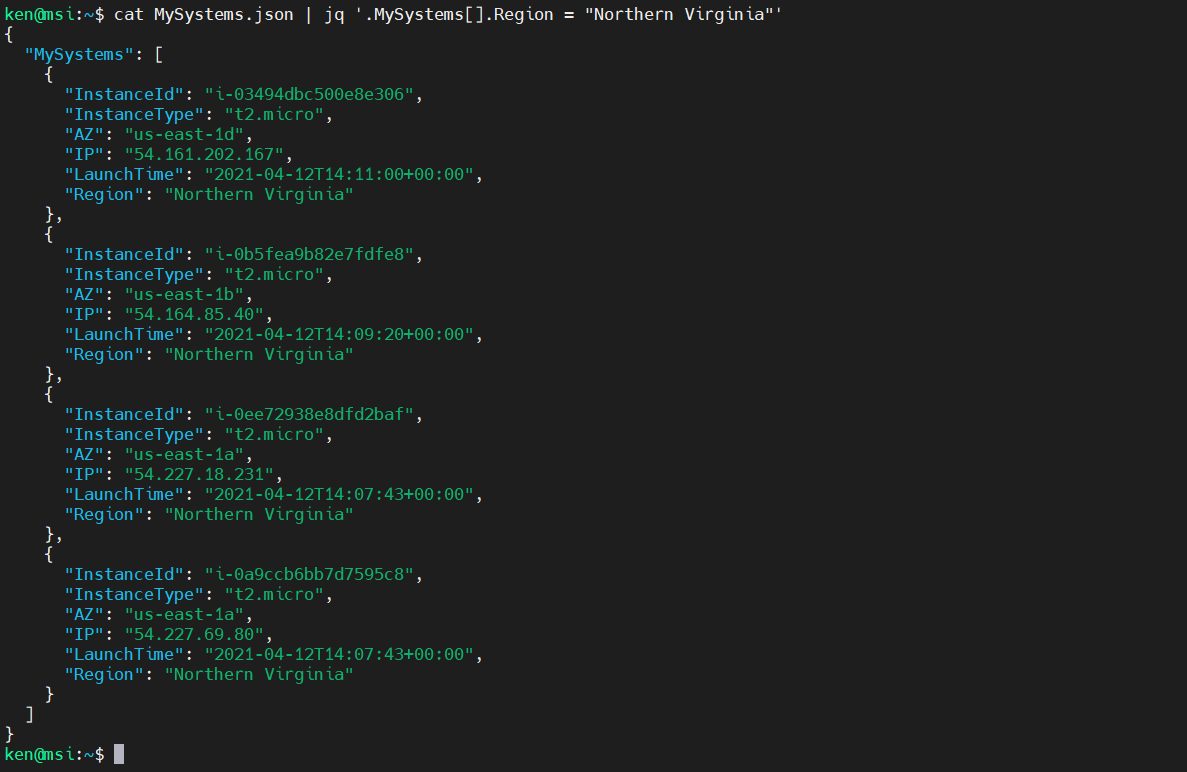
We can even add in a new key-value pair for all objects in our array:
cat MySystems.json | jq '.MySystems[].Region = "Northern Virginia"'
We can even use jq to modify values of a JSON object.
For example, if we have a trust policy (available here):
jq '.' trust_policy.json

And we want to want to append the string “99” to the Sid, we can use the “update-assignment” operator as follows:
cat trust_policy.json | jq '.Statement[0].Sid |= . + "99"'
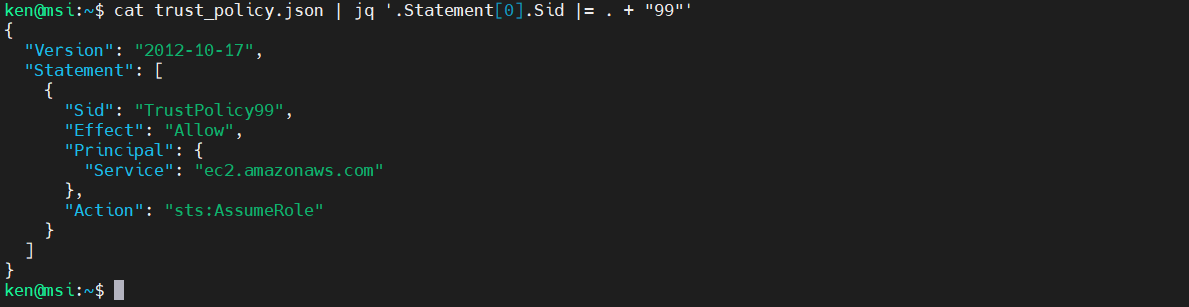
Note that when we are working on strings the “+” performs concatenation.
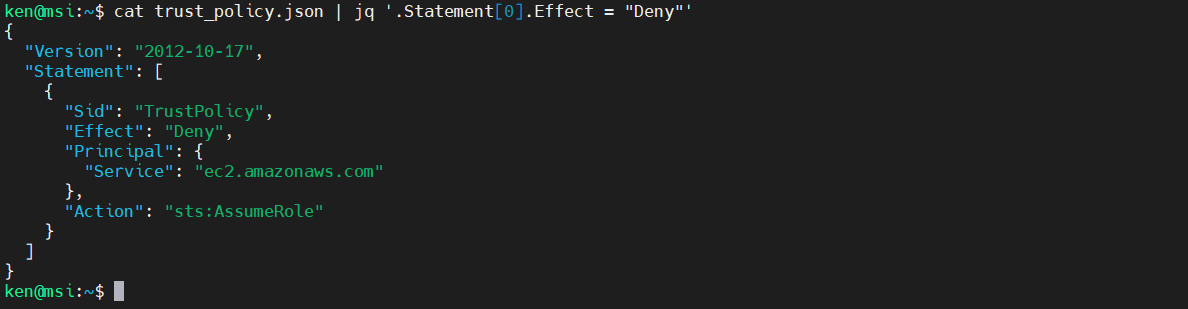
We can also use the regular assignment operator “=” if, for example we wanted to change a value. To demonstrate, we can change the Effect value to an explicit deny:
cat trust_policy.json | jq '.Statement[0].Effect = "Deny"'
Wrap Up
Well. that’s it for our inaugural episode. jq can do so much more and we have only scratched the surface. There are many more operators, support for format strings, and many other features. So again, be sure to read the manual.
If you have thoughts or comments on today’s episode, feel free to chime in on our moderated Google Group by shooting a note to head-in-the-clouds-security@googlegroups.com.
Tune in next time for another installment of “Head in the Clouds.” Announcements of new episodes are made on the SANS Cloud Security Twitter feed.
Meanwhile, be sure to check out the other great videos on the SANS Cloud Security YouTube Channel.